My Drawing Process: From Idea to Finished Artwork
Join me as I take you through my drawing process, from the initial idea to the finished piece, sharing the joys, challenges, and magic that unfold along the way.

First, the Idea
The first step of any artwork is finding the idea. This is where I embrace creative blocks and take pauses to recharge, often immersing myself in books and manga until I feel the drive to draw one of my characters or redraw them.
Once inspiration strikes, I go looking for references on Pinterest, and when I’m satisfied that I have everything I need, I start sketching.

For this piece, I’m drawing fanart of Nene Yashiro from Toilet-Bound Hanako-Kun.
Want to see how I create fantasy-inspired art and how my favorite manga inspire my artworks? Have a look at my blog articles how to get inspired and draw your own fanart!
Sketching the Artwork: The Basic Outline
Once I have my idea, I begin with a basic sketch. I typically start by focusing on the face and eyes, as my compositional focus usually lies on the character’s expression.
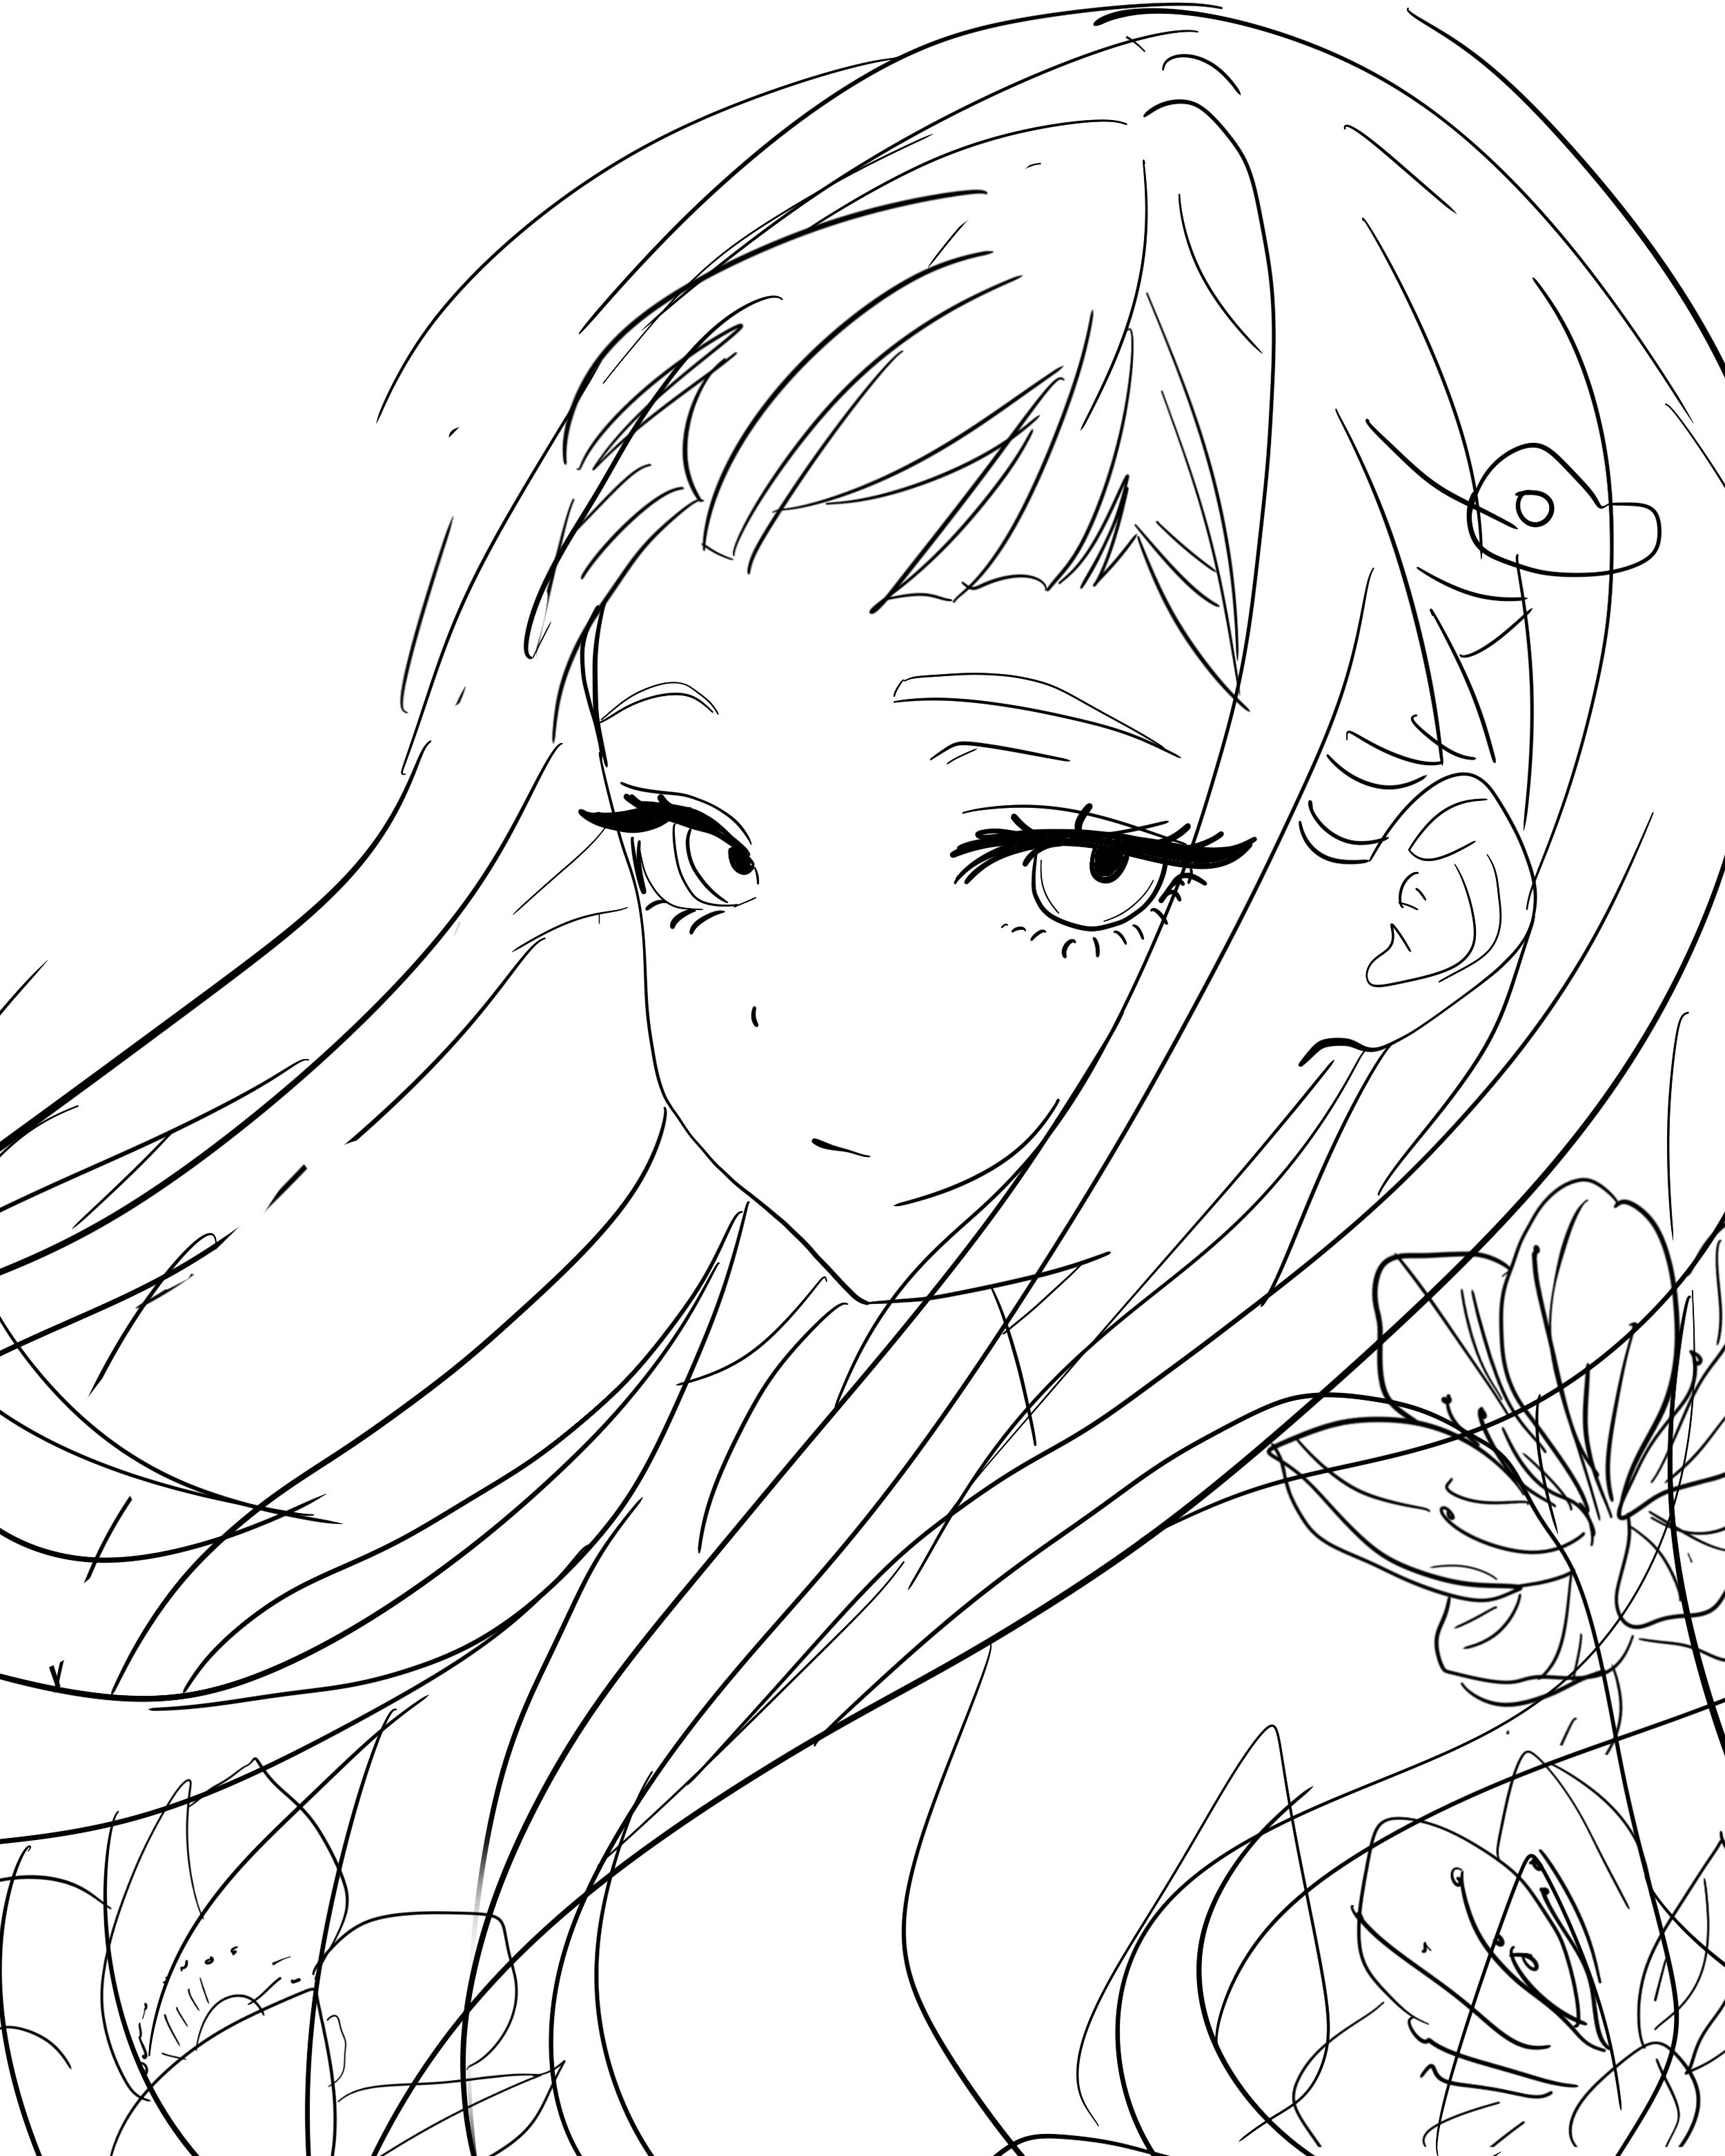
Next, I move on to sketching the hair, which can add a lot of personality and movement to the character, especially when drawing anime and manga fanart/styles.
I usually use references for each aspect of the character, often utilizing about 3 to 4 references just for the hair alone.
Once I have this, I incorporate decorative elements that enhance the overall theme of the artwork, often featuring flowers and butterflies.

Finally, I sketch out the background, ensuring it complements the character without overpowering them. I usually find the background to be the hardest part.
Color Palette: Planning My Colors
With the basic sketch in place, I start choosing my colors. I like to have my entire color palette fixed before I begin the final version so that I can focus on refining without getting stuck on decision-making.

For this step, I also look at references to challenge myself to use new colors, learn new combinations, and match the character I’m drawing fanart of.

This often means referring to the covers when I draw manga, as the colors are very characteristic for each series. This allows me to make color decisions early on, ensuring a cohesive look for the final piece.
Refining the Lineart: Crafting Clean Outlines
Once I'm satisfied with the color sketch, I start my final piece and move on to refining the lineart. This step involves redrawing and enhancing the outlines to ensure they are clean and precise.
My sketches usually have approximate, not flowing, lines, so I am careful to ensure that my line language in the final piece is clean, precise, and enhances the overall artwork.
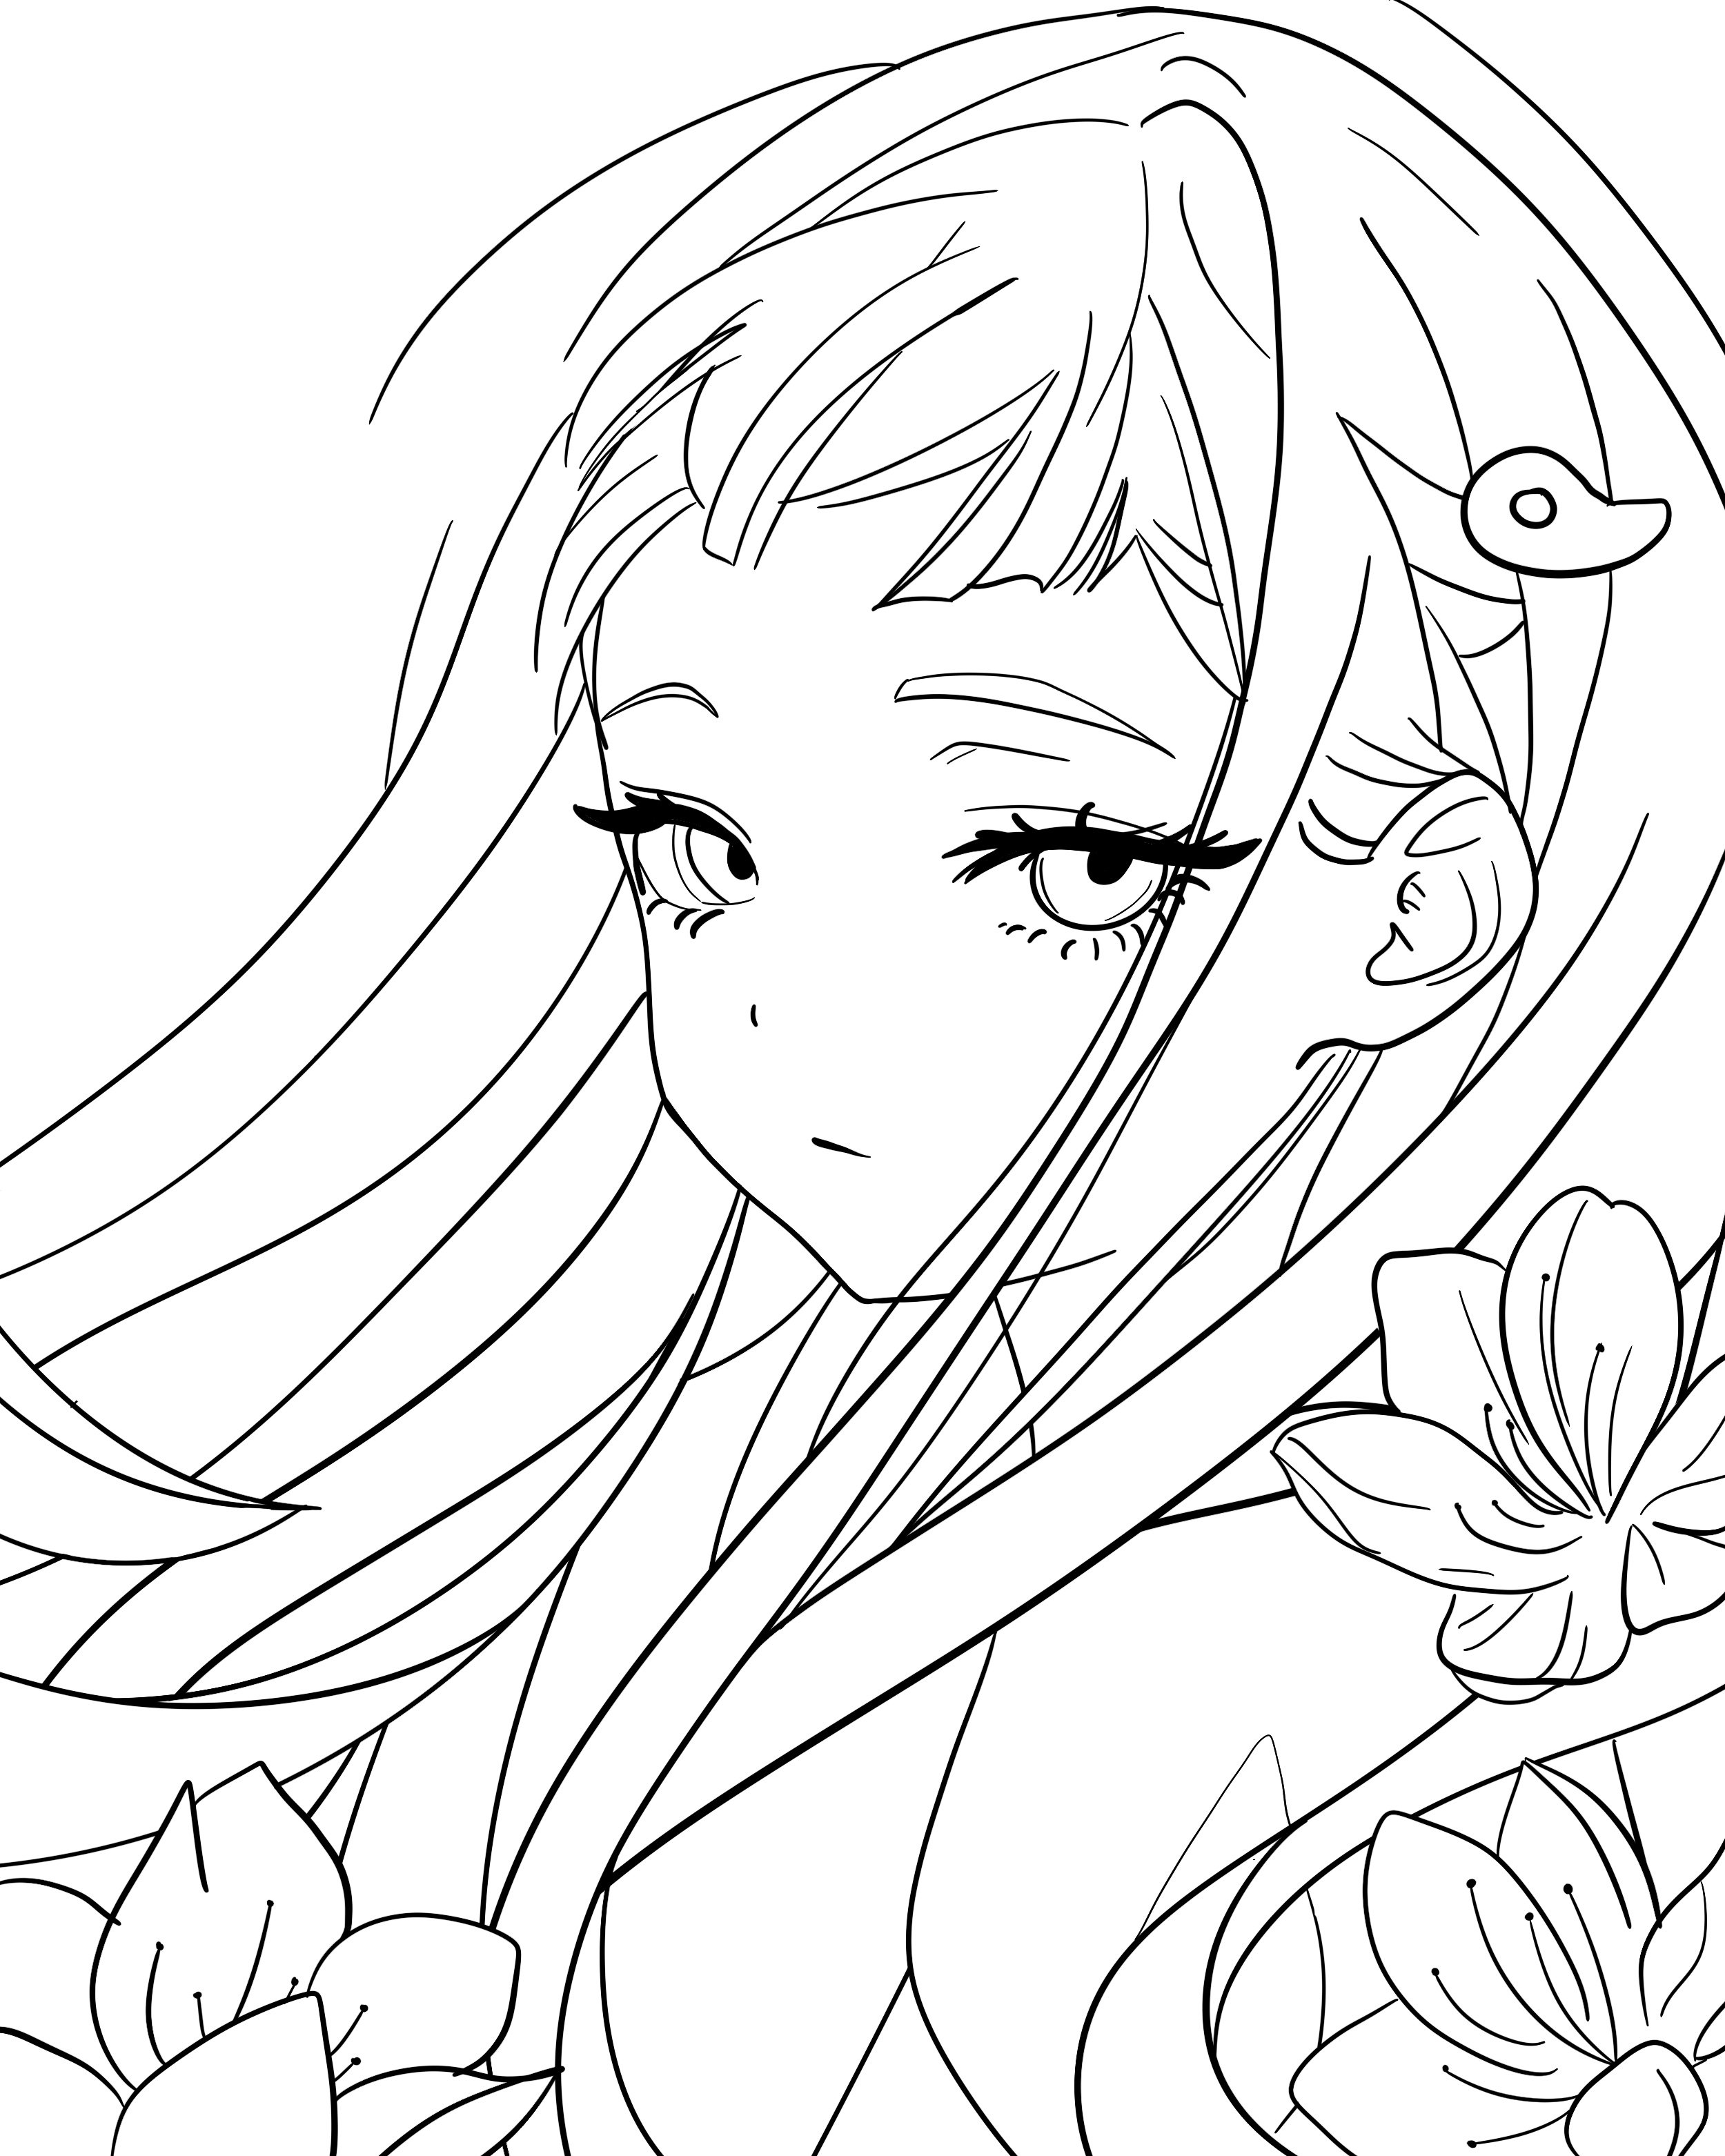
I work with the pressure sensitivity of my pen and use a special comic drawing pen within my Procreate selection.
I usually start by drawing each aspect on a separate layer, such as the face, hair, flowers, body, etc. After I finish everything, I challenge myself to combine all layers into one lineart layer.
Filling in the Canvas: Adding Basic Colors
Next, I fill in the basic colors of the character and elements in the artwork. At this stage, I focus on flat colors without any shading or highlights.

I save my colored sketch as an image and insert it on a separate layer, so I can color pick from it. Here, I draw each color on a separate layer, so I can adjust it later and work with clipping masks as well.

If you want to learn more about how to draw on Procreate, I wrote a simple beginner’s guide.
The Magic Touch: Shading and Highlights
After laying down the basic colors, I move on to shading and adding highlights. I also use the colored sketch for this, as I’ve already filled it in, so I don’t have to get lost trying to find the different hues.
This is where the magic happens!
I carefully consider the light source and how it interacts with the character and background, creating depth and dimension. Shading adds richness to the artwork, while highlights bring it to life.

You can shade using colors or by drawing thicker lines in your lineart, which I also add in this step, especially where lines overlap.
Remember that if your light source is warm, your shadows should be cold, and vice versa.
You can also shade using a Multiply layer in Procreate; I usually use all these options.

Don’t forget to add your brightest highlights to the eyes—they work magic!
Background Symphony: Refining the Scene
With the character now fully colored and shaded, I turn my attention to refining the background. I want it to complement the character without drawing attention away from them.

Adding textures, depth, and additional details enhances the overall composition and helps immerse the viewer in the scene.
This is where I go back and forth the most, trying out different colors and getting lost in minute decisions. I often ask others for their opinions because a good background is crucial for enhancing the artwork.

I prefer to keep backgrounds simple so that the focus remains on my character.
The Final Polish: Details and Adjustments
The last step in my process is all about final details and adjustments. I make any necessary tweaks to color balance, sharpness, and contrast, ensuring that every aspect of the artwork is polished.
This is also when I add any small details that might have been overlooked earlier, which can make a big difference in the final piece.
I also add my artist tag to ensure my artwork is recognized as mine. Here, I go back and forth quite a bit to find the right position for the tag, but it’s worth it!

And Then... Done!
Once all these steps are complete, I usually have doubts about whether it's finished and step away from the artwork.

You can buy this print here!
When I return, I’m often surprised by how satisfied I am and cohesive the artwork is. I upload it to my drive folder to share later.
This process is how I work now, and it has changed a lot over time, and it will likely evolve again in the future. Make sure your process works best for YOU!
Adding a Fun Twist
I also like to make an alternate version of each artwork to try out different color schemes and also have another image I can use and post - it’s quite fun!

If you want to follow along with my creative journey, check out my social media profile @shadowbloom_art for updates, tips, and my latest projects.
Notice how my art style changes - those changes usually go hand in hand with changing how I approach my drawings!